Here is how to use KernelSU to extract the boot.img needed for rooting.
Temporary rooting is possible without flashing boot
When rooting an Android phone, it is generally necessary to obtain an image file of the boot (or init_boot) partition and patch it with Magisk.
However, the ROM zip file is not distributed with every model, so if it is not distributed, it had to be extracted from the device itself using DSU Loader.
With the KernelSU introduced here, it is possible to easily extract the boot image without preparing the DSU Loader.
Depending on the model, it is also possible to boot without flashing, so you can temporarily root without contaminating the original partition image.

Utilizes the Generic Kernel Image (GKI) mechanism
KernelSU is a kernel-side implementation that makes root privileges available.
It is more difficult to detect root status than Magisk, which operates on the user space side, and can access kernel memory and modify system calls.
Thanks to the generic kernel images (GKI) included in Android 11 and later, especially GKI 2.0 for Android 12 and later, it is no longer necessary to build a kernel for each model, but only to download a pre-built KernelSU image.
Since there should be no Android 12 or later devices that do not comply with GKI 2.0, you can root any device with KernelSU as long as bootloader unlocking is available.
KernelSU also works on GKI 1.0 devices, but in that case, you need to build the kernel.
Let’s check compatibility with the app
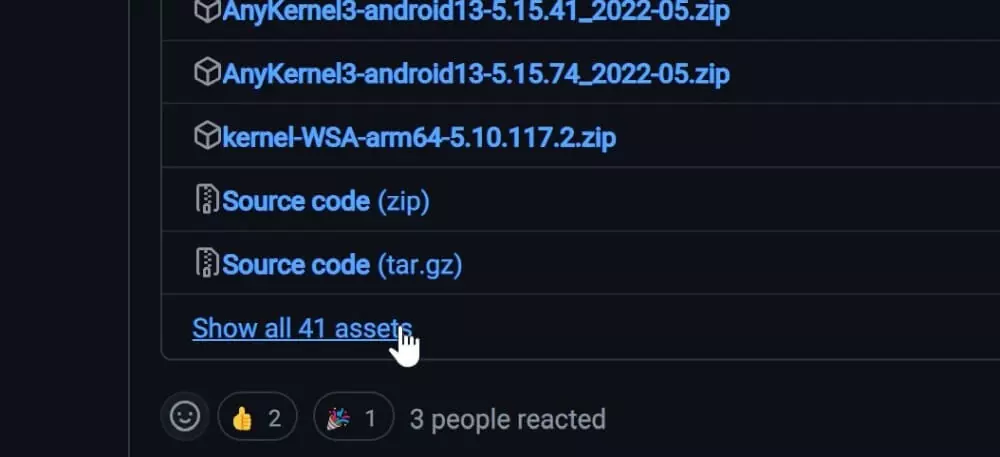
First, download and install the KernelSU APK from the KernelSU Releases page.
Under “Assets,” press “Show all xx assets” to see a list of files.
Download KernelSU_v(version)-release.apk, copy it to your phone, open it with a file management app and install it.
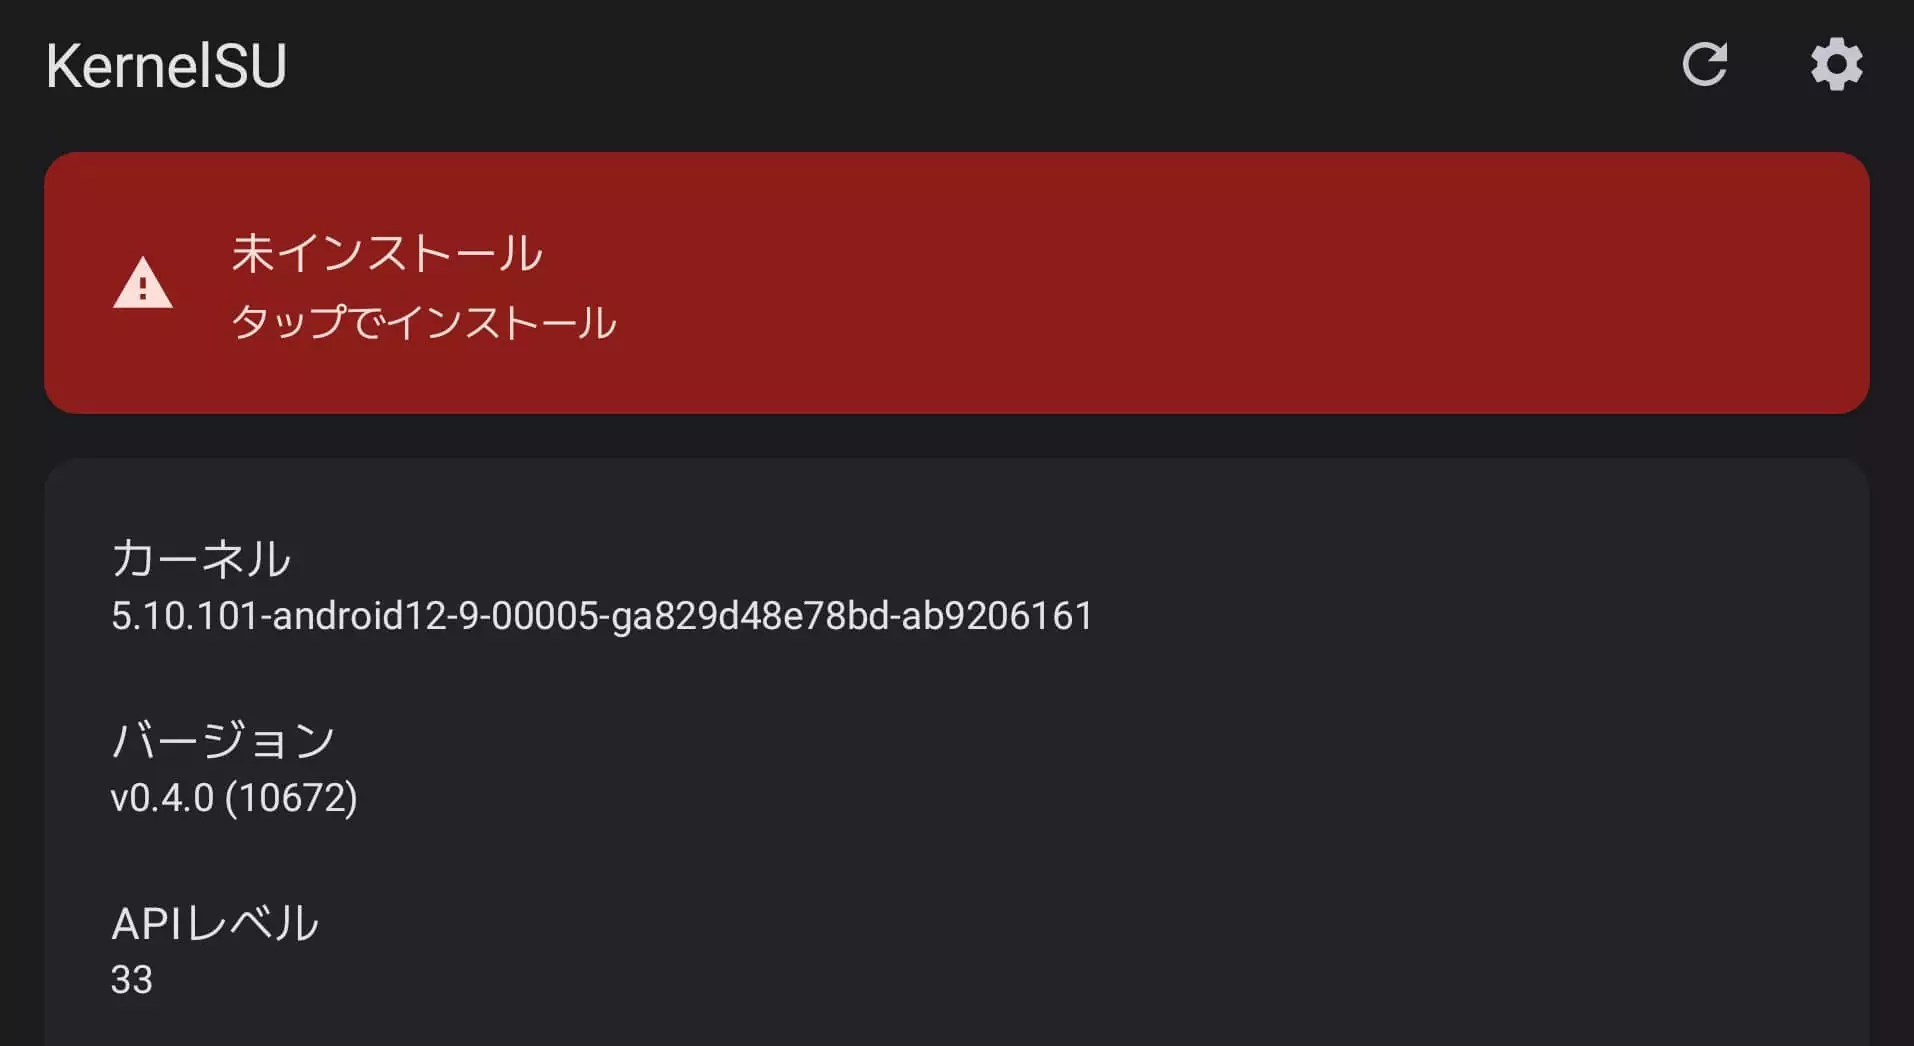
When you open the KernelSU application, “Not installed” is displayed.
If this is “Unsupported”, it means that GKI 2.0 is not supported, so KernelSU cannot be used.
Check the number in the “Kernel” section and look for the same version on the KernelSU’s Releases page.
It is the version of the kernel image, so the Android version is irrelevant.
In the image below, it is “5.10.101-android12”, so as of v0.4.0, “ksu-10672-Image-android12-5.10.101_2022-05-boot.img.gz” is the file you need.
Depending on the model, you may have to choose the one labeled boot-lz4 or boot-gz, but most of the time the normal version will be fine.
Extract the gz file with an application such as 7zip and extract the img file inside.
On the phone side, enable developer options -> USB debugging, and on the PC, open a command window and execute adb reboot bootloader to reboot into bootloader mode, then execute fastboot boot (filename).img to boot. (e.g. fastboot boot ksu-10672-Image-android12-5.10.101_2022-05-boot.img )
If the model supports “fastboot boot” method, it will boot as is.
If the model does not support “fastboot boot”, you have to flash it with fastboot flash boot (file name).img, but it has risk to brick if something fails.
After booting the image, if KernelSU is running, the KernelSU app will show “Running”.
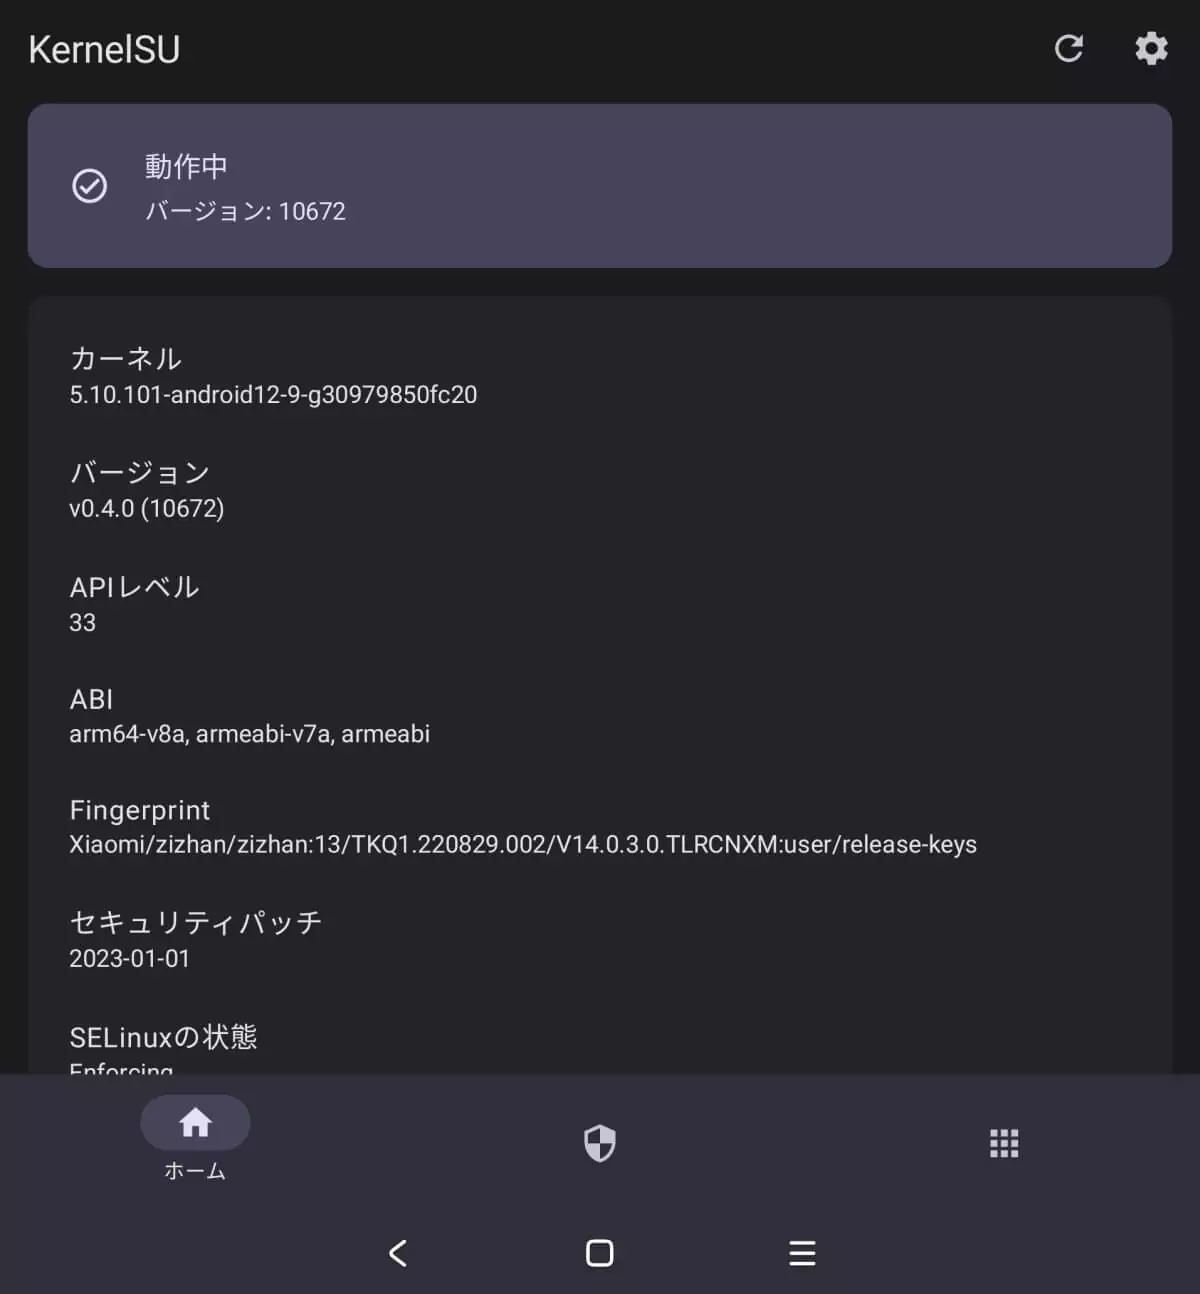
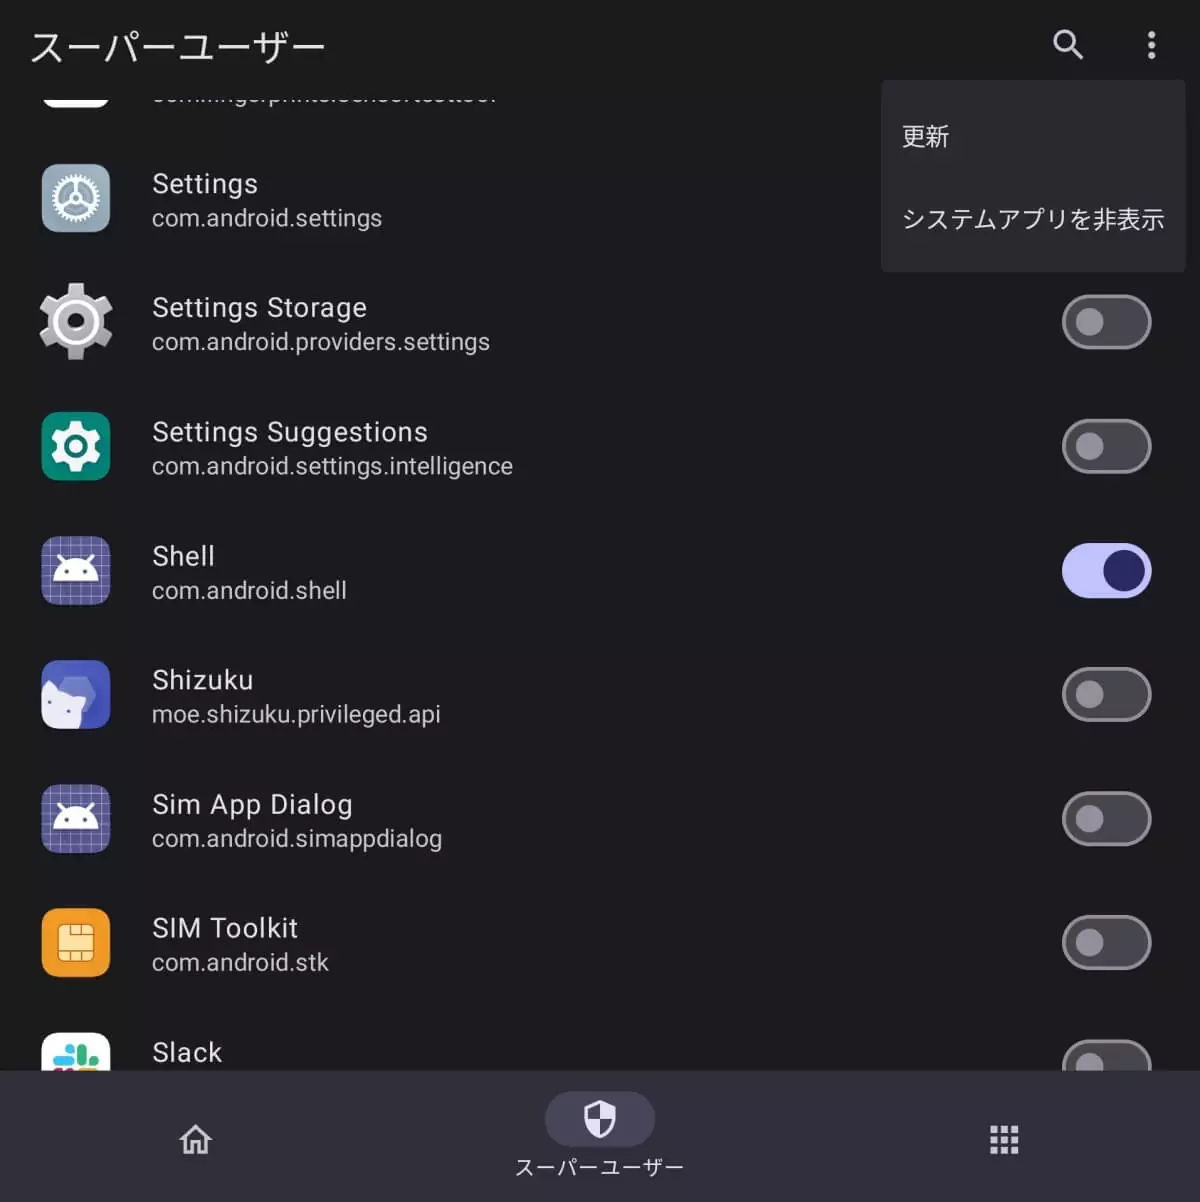
To grant permission to use superuser privileges, open the “Superuser” tab in the bottom center and press “Show system apps” in the upper right menu.
Look for “Shell” and turn it on.
You will now be able to use the su command in the adb shell.
adb shell

su
and if the first part of the command became #, you can use dd if=/dev/block/bootdevice/by-name/boot$(getprop ro.boot.slot_suffix) of=/sdcard/boot.img command to back up the boot image to /sdcard.
You may need to change the path, and you need to get init_boot.img if kernel version is android13 or later. dd if=/dev/block/bootdevice/by-name/init_boot$(getprop ro.boot.slot_suffix) of=/sdcard/init_boot.img
If you want to root your Android 12 or later pre-installed phone but can’t find where to distribute the Stock ROM, please try using KernelSU.